
How to Refinish Kitchen Cabinets: The Steps That Decide Whether It Lasts
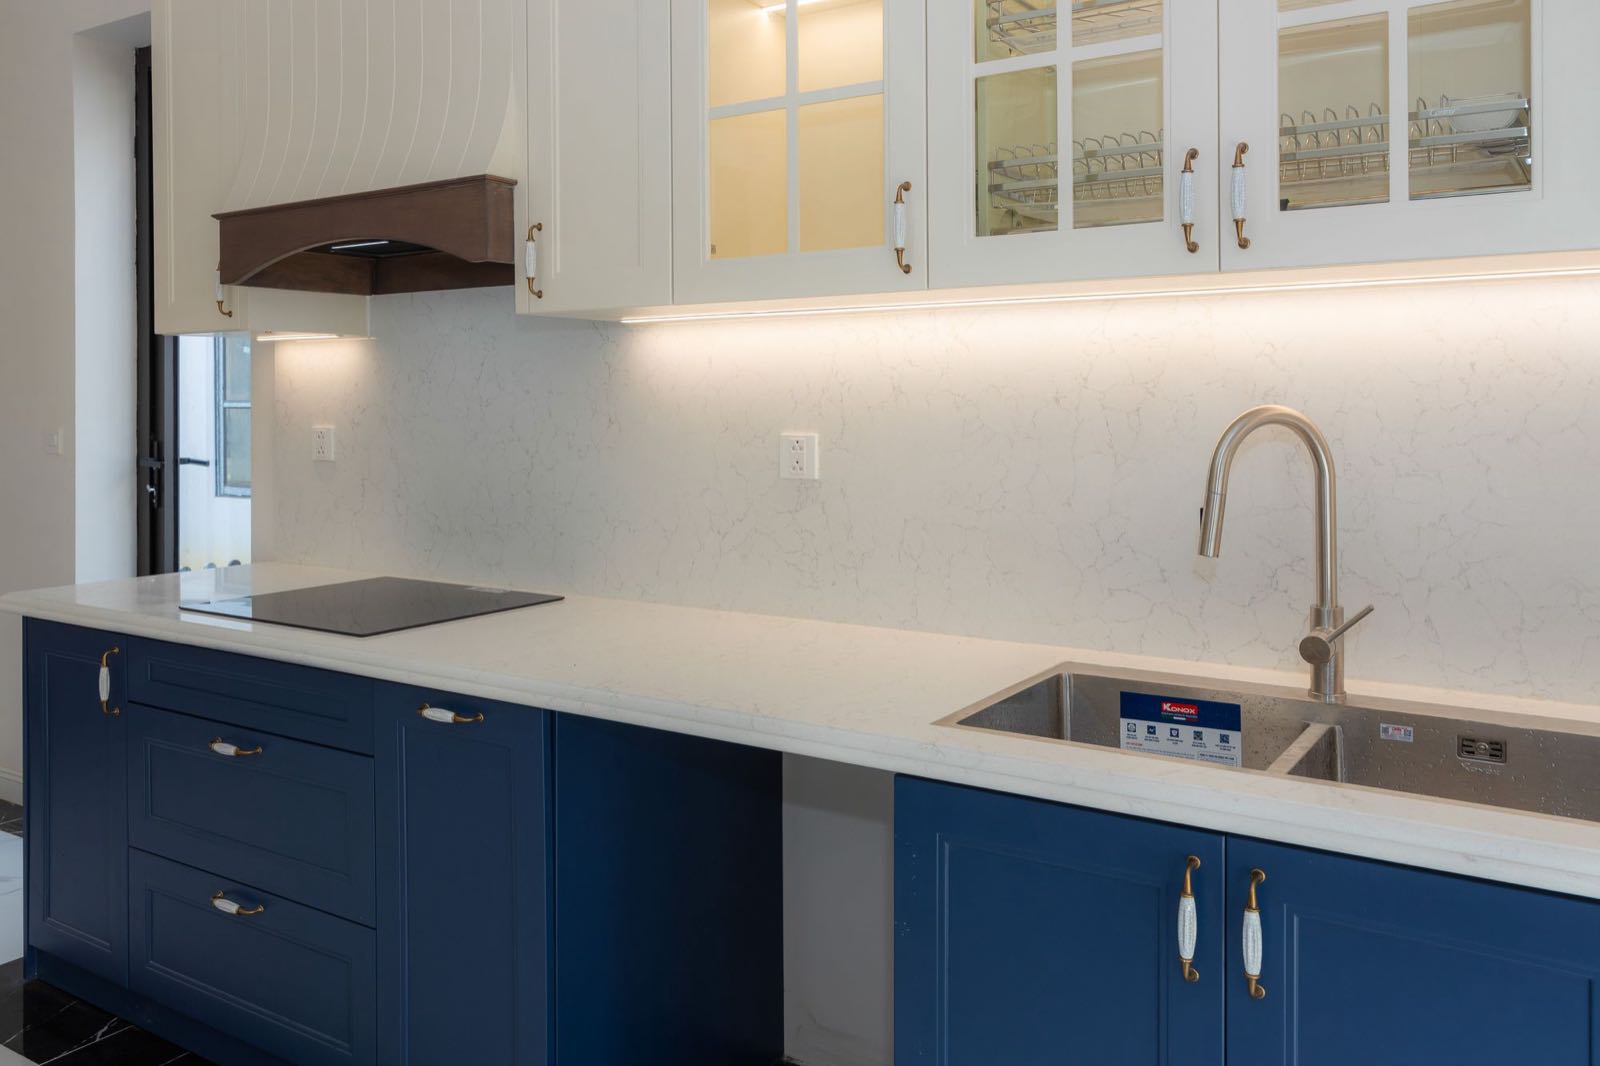
To refinish cabinets, take off the doors, drawer fronts, and hardware, degrease every surface, scuff-sand the old finish, apply a bonding primer, then spray or brush a satin or semi-gloss topcoat and let it cure before anything goes back on. That's the whole process, and none of the steps are optional.
The order matters more than the products. Most cabinet finishes that chip or peel within a year failed at the degreasing or priming step, not at the paint. (The paint gets all the credit. The primer does most of the work, which I imagine every middle child can relate to.)
What does it mean to refinish cabinets?
Refinishing changes the finish on the cabinets you already have. The doors, drawer fronts, and boxes stay; what changes is the surface: the color, the sheen, and the protective coat on top. The layout, the storage, and the box construction stay exactly as they are.
When we refinish cabinets, the finish is paint. Doors and drawer fronts come off and get sprayed off-site, and the boxes are painted in place. That's the process this guide walks through.
How do you know if your cabinets can be refinished?
Check the boxes before you buy anything. Delamination, water-swollen particleboard under the sink, sagging shelves, and hinges that won't hold screws are structural problems, and refinishing doesn't fix any of them.
Age and an outdated color aren't problems at all. If the box is solid, the cabinet qualifies, whether it went in five years ago or in the 1990s.
What do you need to refinish cabinets?
A degreasing cleaner, sanding sponges or fine-grit paper, wood filler for dents and old hardware holes you won't reuse, paintable caulk, a bonding primer, and a cabinet-grade paint in satin or semi-gloss. Add plastic sheeting for the counters and appliances, and a way to label every door with where it hangs.
For application, a sprayer gives the smoothest result on doors laid flat. Without one, a fine brush and a small foam roller are the realistic option. Keep windows open or fans running, and wear a respirator rated for paint vapor if you spray.
If your home was built before 1978 and the cabinets have old paint on them, test for lead before you sand. Sanding lead paint puts it in the air you breathe, and the EPA publishes lead-safe work practices for exactly this situation.
How do you prep cabinets before refinishing?
Remove the doors, drawer fronts, and hardware first, and label each piece with its location. A numbered strip of tape where each hinge mounts saves a lot of guesswork at reinstall.
Then degrease every surface, edges included. Kitchen cabinets carry a film of airborne cooking grease you can't see, and paint applied over it looks fine on day one and fails within months. Rinse the cleaner off and let everything dry completely.
Scuff-sand next. The goal is to break the existing sheen so primer has something to grip, not to strip back to bare wood. Fill dents and unused holes, sand the filler flush, caulk the gaps where panels meet frames, and vacuum and wipe off every bit of dust.
What primer should you use when refinishing cabinets?
A bonding primer on anything glossy or non-porous. That includes laminate, thermofoil, and wood with an existing stain-and-varnish finish, which describes most original kitchen cabinets. Standard primer doesn't grip those surfaces, and paint applied over it can peel off in sheets within a year.
Oak needs one extra decision here. Its open grain telegraphs through paint, so if you want a smooth, grain-free door, the grain gets filled before priming. If a little texture doesn't bother you, standard prep is enough. MDF is the easy one: no grain, no slick factory layer, and it takes primer evenly.
Should you spray or brush cabinet doors?
Spray them if you can. Doors and drawer fronts laid flat and sprayed come out smooth and even in a way brushwork rarely matches, which is why we take them off-site to spray in a controlled setup and paint the boxes in place.
If you're brushing, lay the doors flat, brush with the grain, and work in thin coats. A heavy coat runs on the edges and stays soft longer, and the edges are exactly where cabinet paint takes the most abuse.
For the topcoat, use satin or semi-gloss. Semi-gloss is shinier and wipes down easiest but shows every prep flaw. Satin is more forgiving and still washable. Flat and eggshell aren't durable enough for cabinet doors.
How long should cabinets dry before you rehang the doors?
Until the finish has cured enough to handle, which is later than when it feels dry. Paint dries to the touch well before it cures, and a door rehung too early picks up hinge marks, fingerprints, and sticky spots where it closes against the frame.
Southwest Florida humidity slows that cure. Doors drying in a closed garage in August take longer than doors drying in an air-conditioned room, so keep them inside under the AC if you can. If your schedule is flexible, the dry season, roughly November through April, is the easier window.
What are the most common cabinet refinishing mistakes?
Skipping the degreaser is the big one, followed by regular primer on a slick surface. Both look fine at first, and both show up as chipping at the corners and edges, where hands and doors make contact every day.
The other repeat offenders are heavy coats that sag on the edges, doors rehung before they've cured, and new paint over an old DIY job that's already chipping. That last one bonds fresh paint to a layer that's letting go. If an old finish is failing, it has to come back to a sound layer before anything new goes on.
Should you refinish cabinets yourself or hire it out?
Do it yourself if the job is small. A bathroom vanity with a few doors, or a laundry room, is a reasonable weekend project with a brush, and you don't need to hire us for it.
A full kitchen is a different job. Every door and drawer front comes off, the kitchen is out of commission while they're prepped and curing, and without a sprayer the finish shows brush marks. We charge $150 to $175 per door and $75 to $85 per drawer, so a mid-size kitchen with 20 doors and 10 drawers runs $3,750 to $4,350, and the job takes 4 to 6 days, start to finish.
When shouldn't you refinish cabinets at all?
When the boxes are failing, or when you want a different layout. Refinishing changes the surface. It can't move a sink, add a pantry, or fix particleboard that's swollen from a leak.
A homeowner in Naples asked us to refinish their kitchen: old oak, around 20 doors. The photos made us skeptical, and in person it was worse, with cracking and wear through the doors and the boxes. We could have made it look good, but the finish would have started failing inside a year or two and we couldn't guarantee it past that, so we told them not to do it. We ended up painting other areas of their house instead.
If your cabinets are in that shape, put the money toward new ones. Paint over a failing cabinet is a more expensive way to wait.
Frequently Asked Questions
Remove the doors, drawer fronts, and hardware, degrease every surface, scuff-sand the old finish, apply a bonding primer, then spray or brush a satin or semi-gloss topcoat and let it cure before reinstalling. Skipping the degreasing or the bonding primer is the most common reason a cabinet finish chips within a year.